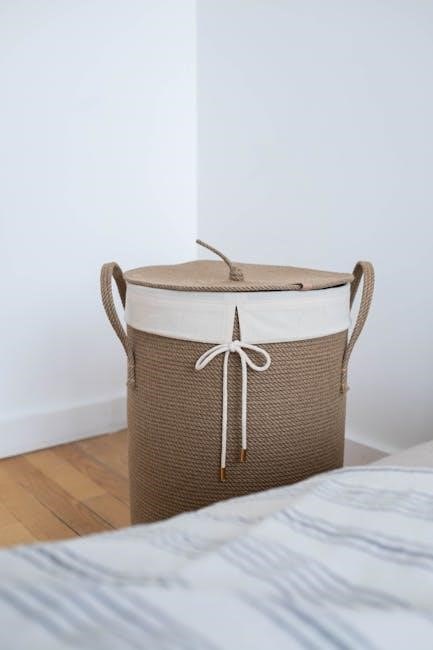
Create a trendy and functional storage solution with this easy DIY rope basket tutorial. Perfect for organizing your space or as a handmade gift, it’s budget-friendly and customizable to suit any decor style.
Overview of the Project
This DIY rope basket project is a fun and creative way to craft a functional storage solution. Perfect for beginners, it requires minimal materials and time, making it an ideal weekend craft. The project involves wrapping and gluing rope to form a sturdy base and walls, which can be shaped to various sizes. You can customize the basket to fit your needs, whether it’s for organizing small items, storing yarn, or even as a gift basket. The process is straightforward, with step-by-step instructions guiding you from preparing the base to adding decorative touches. With options to add handles or dye the rope, this project allows for personalization. It’s a budget-friendly way to create handmade decor that complements any style; The best part? It can be completed in under an hour, making it a quick yet rewarding DIY endeavor.
Benefits of Making a Rope Basket
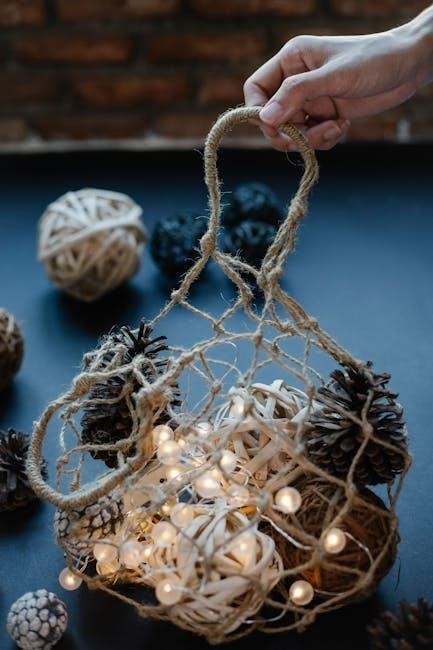
Creating a rope basket offers numerous benefits, making it a rewarding DIY project. It’s a budget-friendly way to add functional storage to your home while showcasing your creativity. The process is simple and quick, often taking less than an hour, making it perfect for busy crafters. Customization is a key advantage, as you can choose the size, color, and design to match your decor. This project is also eco-friendly, as it repurposes materials like rope into something useful. Additionally, it’s a great way to practice handcrafting skills without needing advanced techniques. The finished basket can serve multiple purposes, from organizing supplies to acting as a stylish gift container. It’s also a thoughtful handmade gift idea, especially for occasions like Christmas. Overall, making a rope basket is a practical, creative, and cost-effective way to enhance your space while enjoying the satisfaction of crafting something yourself.
Skills and Time Required
Making a rope basket is a straightforward project that requires basic crafting skills and minimal time. It’s perfect for beginners, as it doesn’t demand advanced techniques like macrame. The process is simple and quick, often taking less than an hour to complete. You’ll need basic tools like a hot glue gun, scissors, and a surface to work on. The steps involve wrapping rope, applying glue, and building up the basket’s structure. While stitching or sewing can be optional for handles, it’s not necessary for a basic basket. The project is great for those who enjoy hands-on creativity but have limited time. It’s also a good way to practice patience and attention to detail. With minimal effort, you can create a functional and stylish storage solution that adds a personal touch to your home decor. This DIY project is both rewarding and efficient, making it ideal for crafters of all skill levels.
Materials Needed for the Rope Basket
Gather essential materials like sturdy rope (cotton piping cord or clothesline), hot glue gun, scissors, and a surface to shape your basket. Optional items include fabric for liners or leather for handles.
Types of Rope Suitable for Basket Making
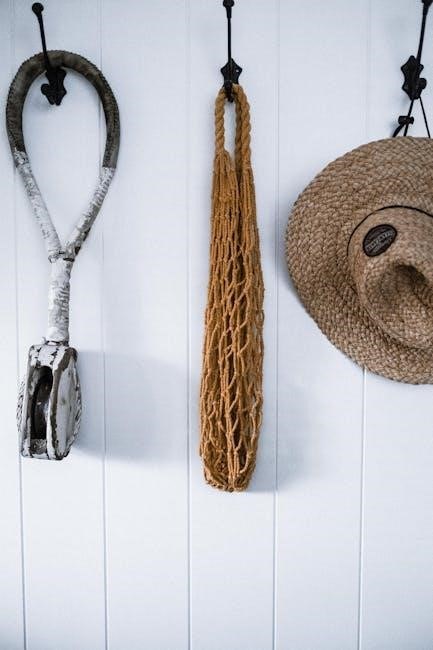
For a durable and stylish rope basket, choose high-quality materials like cotton piping cord or 100% cotton clothesline, which are soft yet sturdy. Macramé rope is another excellent option, offering a textured look. Opt for ropes with a thickness of 7/32-inch or 1/2-inch for a balanced look and feel. Cotton ropes are ideal as they are easy to handle and shape, reducing finger strain during crafting. For larger baskets, consider thicker ropes, while finer ropes work best for smaller, delicate designs. Ensure the rope is long enough; a 10-15 yard length is typically sufficient for a single basket. Avoid overly smooth or slippery materials, as they may not hold the structure well. The right rope choice will ensure your basket is both functional and visually appealing, making it perfect for storage or as a decorative piece.
Tools Required for the Project
To create a rope basket, you’ll need a few essential tools. A hot glue gun is crucial for securing the rope coils together. Scissors or a craft knife are necessary for cutting the rope to the desired length. A metal pail or mold helps shape the basket, and parchment paper or freezer paper prevents the rope from sticking to the mold. Tape can secure the paper in place. For finishing touches, a leather punch and rivets are useful for attaching handles. If sewing, a sewing machine with a zigzag stitch is ideal for stitching coils together. Embroidery floss and a sharp tapestry needle are handy for decorative stitching. Optional tools include a leather strip cutter for custom handles. These tools ensure a sturdy and visually appealing final product, making the crafting process efficient and enjoyable.
Optional Materials for Customization
Elevate your rope basket with optional materials for a personalized touch. Dye the rope in various colors to match your decor or create vibrant patterns. Add decorative elements like beads, buttons, or shells for a unique look. Incorporate fabric for a liner or handle, offering a soft contrast to the rope. Leather strips can be used for sturdy, stylish handles, while metal rivets add a rustic charm. For a bohemian feel, wrap embroidery floss around the rope in contrasting colors. You can also add stitching patterns using a sewing machine for visual interest. These materials allow you to tailor your basket to your style, making it truly one-of-a-kind. Whether you prefer subtle accents or bold statements, customization options are endless, ensuring your rope basket reflects your creativity and complements any setting.
Cost-Effective Alternatives
Creating a rope basket doesn’t have to break the bank. Opt for affordable materials like cotton piping cord or clothesline, which are durable and cost-effective. Instead of leather, use fabric scraps for handles or liners, adding a personal touch while saving money. Repurpose old ropes or twines for a rustic, eco-friendly look. For customization, try embroidery floss in various colors instead of expensive decorative elements. You can also skip the sewing machine and use hot glue for a quicker, budget-friendly assembly. Additionally, use items like cardboard or a plastic container as a mold instead of buying a metal pail. These alternatives allow you to create a beautiful, functional basket without overspending, making the project accessible to everyone. With a little creativity, you can craft a stunning rope basket that’s both stylish and economical.
Step-by-Step Guide to Making a Rope Basket
Follow this easy, step-by-step guide to craft a sturdy rope basket. Start by forming the base, then build the walls, add handles, and finish with a secure seal for durability.
Preparing the Base of the Basket
Start by creating a sturdy foundation for your rope basket. Wrap the rope around itself to form a flat disk, securing it with hot glue or stitching. Use a metal pail or bowl as a mold to maintain shape. Apply glue inch by inch, pressing the rope firmly to ensure a strong bond. For a sewing method, coil the rope and stitch an “X” pattern across the center using a zigzag stitch on a sewing machine. This holds the coils together. Keep wrapping until the base matches the width of your mold. Ensure the coils are tight and evenly spaced for stability; Once the base is complete, it will provide the structural support needed for building the basket’s walls. Proper preparation of the base ensures a professional-looking and durable final product.
Building the Walls of the Basket
Once the base is ready, begin constructing the walls by coiling the rope around the mold or base. Apply hot glue inch by inch, pressing the rope firmly to secure it. For a sewing method, hold the disk vertically and stitch across the coils using a zigzag stitch, turning the basket as you go. This method allows you to build the walls evenly. If using glue, ensure each coil is tightly wrapped and aligned with the previous one. For added stability, wrap the rope around the mold, gluing it in place. Continue this process until the basket reaches your desired height. To enhance durability, keep the coils tight and evenly spaced. Optionally, you can add decorative bands by wrapping embroidery floss around the rope. Once the walls are complete, the basket will be sturdy and ready for finishing touches like handles or sealing.
Adding Handles to the Basket
Add functionality and style to your rope basket by attaching sturdy handles. Cut two 10-inch strips of leather or fabric, approximately 1 inch wide. For a rustic look, use jute cord to stitch the handles to the basket. Alternatively, apply hot glue to secure the handles to the sides. For a more durable option, use a leather punch to create holes at the ends of the handles, then attach them with rivets. Ensure the handles are evenly spaced and aligned for a balanced look. If preferred, wrap embroidery floss around the handle ends for a decorative touch. Once attached, test the handles to ensure they are secure. This step not only enhances the basket’s usability but also adds a personalized finish. Handles can be customized in length and material to match your desired aesthetic.
Finishing Touches and Sealing
Complete your rope basket by adding the final details. Once the basket reaches your desired height, cut the rope, leaving a 2-inch end. Fold the end under and secure it with hot glue to prevent fraying. For a polished look, wrap the end with embroidery floss or leather strips. To seal and protect the basket, apply a fabric sealant or natural wax. This step ensures durability and makes the basket more resistant to wear. Optionally, add a fabric liner for a finished interior. Trim any excess material and ensure all edges are smooth. For a decorative touch, wrap embroidery floss around the top edge or add a small bow. These finishing touches enhance both the functionality and aesthetics of your handmade rope basket, making it ready for use or gifting.
Customization Ideas for Your Rope Basket
Elevate your rope basket with personalized touches. Dye the rope for vibrant colors, add decorative elements like beads or ribbons, or incorporate stitching patterns for a unique, stylish design.
Dyeing the Rope for Different Colors
Dyeing your rope is a fantastic way to add personality to your basket. Start by selecting a fabric dye that matches your desired color scheme. Protect your workspace with gloves and old sheets; Mix the dye according to the instructions, ensuring the solution is vibrant and evenly distributed. Submerge the rope into the dye, making sure it’s fully coated. For natural fibers like cotton, pre-treat the rope with soda ash to enhance color absorption. Allow the rope to soak for about 30 minutes to an hour, then rinse gently with cold water until excess dye is removed. Let the rope dry completely before use. For a multi-tonal effect, dip sections of the rope in different colors or layer dyes for unique shades. This step allows you to customize your basket’s appearance, making it truly one-of-a-kind. Always test a small section first to ensure the color adheres well.
Adding Decorative Elements
Elevate your rope basket by incorporating decorative elements that reflect your personal style. Consider adding leather or fabric handles for a rustic touch, or use jute cord for a more natural look. Stitching patterns, such as zigzag or straight lines, can create visually appealing designs. For a pop of color, wrap embroidery floss around sections of the rope to form vibrant bands. Beads, sequins, or small shells can also be threaded onto the rope for a bohemian flair. Additionally, ribbons or bows tied around the handles add a charming finish. These embellishments not only enhance the basket’s aesthetic but also make it stand out as a unique handmade piece. Whether you prefer minimalistic or elaborate designs, decorative elements allow you to customize your basket to match your home decor or personal style, making it a one-of-a-kind creation.
Creating Patterns with Stitching
Enhance your rope basket by incorporating stitching patterns that add visual interest and texture. Use a sewing machine with a zigzag stitch to sew across the coils, creating a secure and decorative bond. For a unique look, change the thread color periodically to create banded patterns. Hand-stitching with embroidery floss allows for more intricate designs, such as wrapping the floss around the rope to form colored bands. You can also experiment with spacing between stitches—closer stitches for a denser look or farther apart for a more open design. Stitching patterns not only strengthen the basket but also add a personal touch, making it a standout piece. Whether you prefer subtle textures or bold designs, stitching offers endless possibilities to customize your rope basket and give it a truly handmade feel.
Tips and Tricks for a Perfect Rope Basket
Use hot glue in small amounts to avoid it setting too quickly. Wrap the rope tightly around the mold for a polished look. Choose soft, durable materials like cotton piping cord for comfort and longevity. Keep your workspace clean and have extra rope on hand to avoid running out mid-project. These tips ensure a sturdy, professional-looking basket that’s both functional and stylish.
Common Mistakes to Avoid
When making a rope basket, common mistakes include applying too much hot glue, which can set before securing the rope, leading to weak bonds. Using insufficient rope length can halt progress, so always have extra on hand. Improper wrapping or loose coils can result in a misshapen base, while rough handling may cause fraying. To avoid these issues, apply glue sparingly, ensure tight wraps, and handle the rope gently. Additionally, not securing the foundation properly can lead to an unstable basket, so double-check the initial coils. Finally, avoid over-tightening stitches, as this can distort the basket’s shape. By being mindful of these pitfalls, you can achieve a sturdy, professional-looking result.
Time-Saving Techniques
To save time when making a rope basket, consider using a metal pail or mold to shape the basket evenly and quickly. Pre-cutting the rope into manageable lengths can also streamline the process. Applying hot glue in small, controlled amounts ensures it sets faster, allowing you to move swiftly without waiting. Planning the size and shape in advance avoids mid-project adjustments. For those comfortable with sewing, using a sewing machine to stitch coils together can significantly speed up the process. Additionally, organizing materials beforehand and keeping tools within reach minimizes downtime. These techniques help you complete your rope basket efficiently while maintaining quality and aesthetics.
Congratulations on completing your rope basket! This handmade project offers a sense of accomplishment and versatility for storage or gifting. Happy crafting and creating more unique pieces!
Final Thoughts on the Project
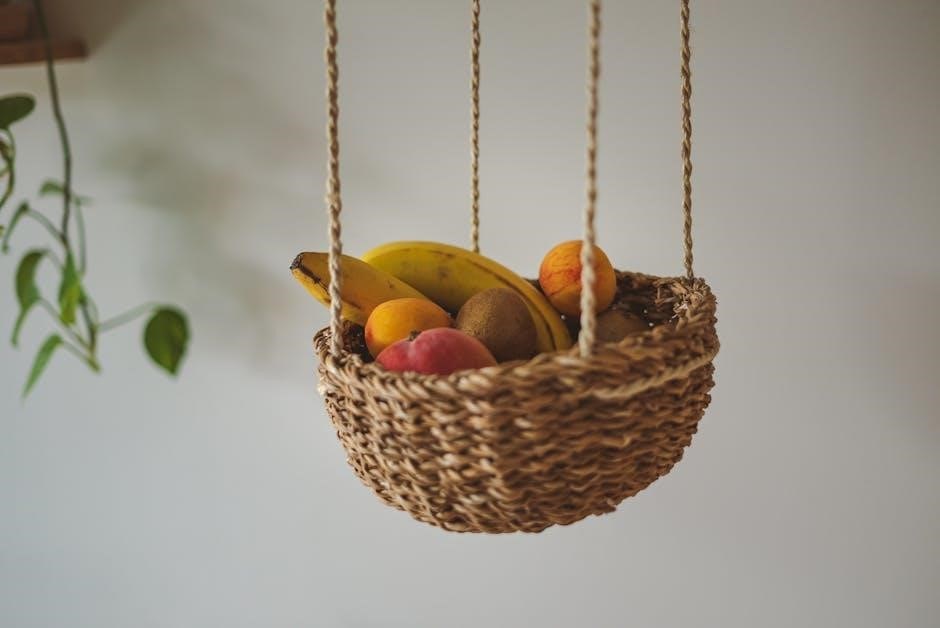
Creating a rope basket is a rewarding DIY project that combines creativity with practicality. It’s a great way to add a personal touch to your home decor while organizing your space. The process is simple enough for beginners but also offers room for customization, making each basket unique. Whether you’re storing small items, using it as a gift basket, or carrying personal belongings, the versatility of a handmade rope basket is undeniable. The satisfaction of turning simple materials into a functional and stylish piece is incredibly fulfilling. With minimal costs and effort, you can craft something truly special. This project not only enhances your crafting skills but also encourages you to experiment with colors, patterns, and designs. The end result is a beautiful, handmade item that reflects your personal style and creativity.
Encouragement to Experiment and Create
Embrace the creative journey of making a rope basket and let your imagination shine! This project is a perfect opportunity to experiment with different materials, colors, and designs. Whether you’re a seasoned crafter or a beginner, the process is both therapeutic and rewarding. Don’t be afraid to try new techniques or deviate from the tutorial—every unique twist adds character to your basket. Consider exploring various rope types, dyeing methods, or decorative elements to make your piece truly one-of-a-kind. The beauty of DIY lies in its flexibility, allowing you to tailor the project to your style and needs. Remember, the goal is to have fun and enjoy the satisfaction of creating something with your own hands. So, gather your materials, get creative, and watch your vision transform into a functional and beautiful handmade rope basket!