Hoover PowerDash Pet Compact Carpet Cleaner Manual: A Comprehensive Guide

This manual provides detailed instructions for optimal use of your Hoover PowerDash Pet.
Explore YouTube tutorials and resources for effective cleaning techniques and troubleshooting assistance.
Ensure a spotless home with this comprehensive guide!
Understanding Your PowerDash Pet
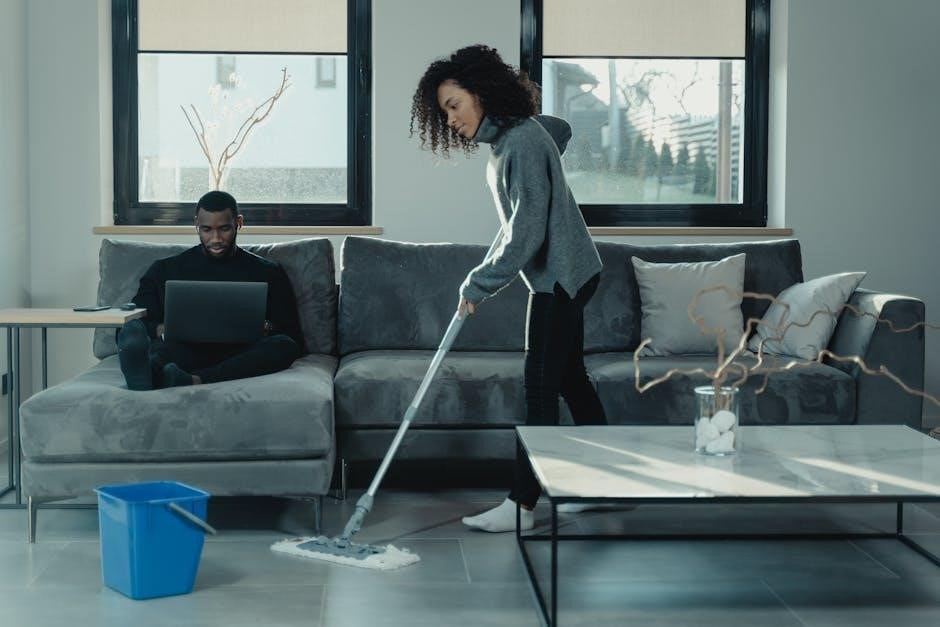
The Hoover PowerDash Pet Compact Carpet Cleaner is engineered for powerful, yet convenient, carpet cleaning, specifically addressing pet-related messes. This compact machine delivers surprisingly robust suction and cleaning action in a lightweight design. It’s designed to tackle embedded dirt, stains, and odors, leaving your carpets refreshed and revitalized.
Unlike bulkier carpet cleaners, the PowerDash Pet prioritizes portability and ease of use. Its compact size makes it ideal for apartments, homes with limited storage, or quick cleanups. The specialized pet tools and cleaning solutions effectively remove pet hair, dander, and accidents. Online resources, like YouTube tutorials, demonstrate its capabilities and offer practical cleaning tips.
Understanding the machine’s components and functions, as detailed in the full manual, is crucial for maximizing its performance. Familiarize yourself with the water tanks, spray trigger, brush roll, and cleaning modes to achieve optimal results. Proper usage ensures longevity and effective stain removal.
Unboxing and Component Identification
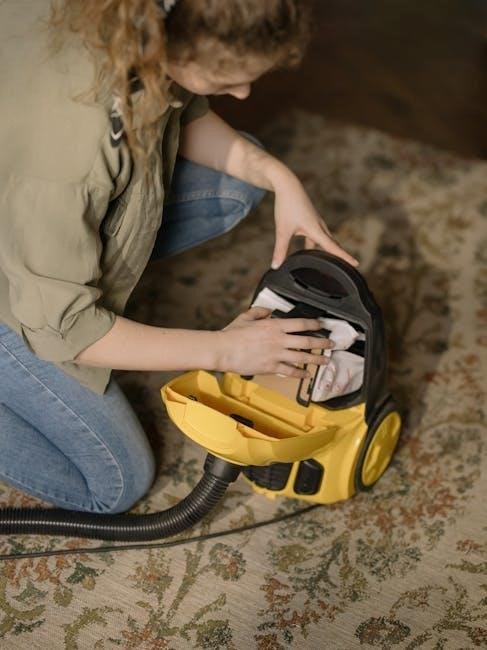
Upon unboxing your Hoover PowerDash Pet, carefully inspect all included components. You should find the main carpet cleaner unit, the clean water tank, and the dirty water tank. A specialized pet tool, designed for upholstery and stairs, is also included, alongside a sample size of Hoover PowerDash Pet cleaning solution.
Identify the spray trigger, located on the handle, which activates the cleaning solution. Locate the brush roll access panel on the base of the unit for maintenance. The power cord and quick start guide are also present. Refer to online resources, such as images from sites like Yandex Images, to visually confirm each part.
Ensure all parts are present and undamaged. The quick start guide provides a basic overview, but the full manual details each component’s function and proper usage. Familiarizing yourself with these parts before assembly will streamline the setup process and ensure effective cleaning.
Safety Precautions and Warnings
To ensure safe operation of your Hoover PowerDash Pet, always unplug the unit before performing any maintenance or troubleshooting. Never operate the cleaner with a damaged cord or plug. Avoid using outdoors or on wet surfaces to prevent electric shock.
Keep children and pets away during operation. Do not direct the spray nozzle towards people or animals. Only use Hoover-approved cleaning solutions to prevent damage to the unit and maintain warranty validity. Never immerse the cleaner in water.
Be cautious when operating on stairs. Ensure the unit is stable and avoid overreaching; Do not run the cord under rugs or carpets. Always turn off and unplug the cleaner when not in use. Refer to the full manual for a complete list of safety guidelines and warnings to prevent injury or damage.
Assembly Instructions
Your Hoover PowerDash Pet arrives with minimal assembly required for quick and convenient cleaning. First, securely attach the handle to the main unit, ensuring it clicks firmly into place. Next, connect the spray trigger to the designated port on the handle – a distinct click will confirm proper attachment.
Inspect the brush roll and ensure it’s correctly positioned within the cleaning head. The dirty water tank easily slides into its compartment, while the clean water tank snaps securely into its designated space. Double-check all connections before adding cleaning solution and water.
Refer to the included diagram for visual guidance. Proper assembly is crucial for optimal performance and prevents leaks. If any parts are missing or damaged, contact Hoover customer support before attempting operation.
Preparing for Cleaning: Solution Mixing
Achieving optimal cleaning results with your Hoover PowerDash Pet relies on proper cleaning solution mixing. Always use the Hoover PowerDash Pet Carpet Cleaning Solution, specifically formulated for this machine. Do not use other detergents, as they may damage the unit or leave residue.
For general cleaning, mix 1 ounce of solution with 32 ounces of warm tap water in the clean water tank. For heavily soiled areas or pet messes, you can increase the solution to 2 ounces per 32 ounces of water.
Ensure the solution is fully dissolved before use. Avoid overfilling the tank, and never use hot water, as it can damage internal components. Always check the solution level before and during cleaning to maintain effectiveness.
Filling the Clean Water Tank
The clean water tank on your Hoover PowerDash Pet is crucial for delivering the cleaning solution to your carpets. Locate the tank – it’s typically a blue, removable container. Before filling, ensure the unit is unplugged for safety.
Carefully remove the tank and open the cap. Pour in the pre-mixed cleaning solution (refer to the ‘Preparing for Cleaning: Solution Mixing’ section for correct ratios). Do not exceed the “Max Fill” line indicated inside the tank to prevent overflow and potential damage.
Securely replace the cap, ensuring it’s tightly sealed. Reattach the tank to the unit, aligning it correctly until it clicks into place. Double-check that the tank is properly seated before beginning the cleaning process.
Using the PowerDash Pet: Step-by-Step Guide
Begin by ensuring the clean water tank is properly filled and the dirty water tank is securely in place. Plug in your PowerDash Pet. For heavily soiled areas, consider a pre-treatment (see ‘Pre-Treatment for Stubborn Stains’).
Select your desired cleaning mode – Quick Wash or Deep Clean – based on the level of dirt and carpet type. Position the nozzle onto the carpet and press the power button. Simultaneously, gently pull the spray trigger to release the cleaning solution.
Slowly push the cleaner forward, then pull it back, overlapping each pass slightly. Release the trigger when not actively cleaning to conserve solution. Monitor the dirty water tank and empty it as needed for optimal performance. Continue until the desired area is clean.
Pre-Treatment for Stubborn Stains
For deeply embedded dirt or persistent stains, pre-treatment is crucial. Before using the PowerDash Pet, apply a pet-specific stain remover directly onto the affected area. Allow the solution to dwell for 3-5 minutes – do not let it dry completely. This dwell time allows the formula to break down the stain’s composition, making it easier to lift.
Gently blot the stain with a clean cloth, working from the outside in to prevent spreading. Avoid vigorous scrubbing, which can damage carpet fibers. After pre-treating, proceed with the PowerDash Pet using the appropriate cleaning mode (Deep Clean is recommended for stubborn stains).
Remember to test the stain remover in an inconspicuous area first to ensure colorfastness. Repeat the process if necessary for particularly challenging stains.
Cleaning Modes and Settings
The PowerDash Pet offers versatile cleaning modes to tackle various messes. The ‘Quick Wash’ mode is ideal for light, everyday cleaning and fast drying times. For deeper cleaning and heavily soiled areas, select the ‘Deep Clean’ mode, which provides increased suction and solution dispensing.
The ‘Spot & Spill’ mode is perfect for addressing localized stains and spills quickly and efficiently. Utilize the ‘Rinse’ setting after cleaning to remove any remaining detergent residue, ensuring a fresh and clean carpet. Adjust the solution control settings to manage the amount of cleaning solution dispensed – lower settings are suitable for delicate carpets, while higher settings are for robust materials.
Experiment with these settings to find the optimal combination for your specific carpet type and cleaning needs.
Operating the Spray Trigger and Suction
Effective cleaning relies on mastering the spray trigger and suction control. To initiate cleaning, gently squeeze the spray trigger while simultaneously moving the PowerDash Pet forward. This releases the cleaning solution onto the carpet fibers. Maintain a consistent speed for even distribution.
Release the spray trigger when moving backward to avoid oversaturation. The machine’s powerful suction then extracts the dirty water and solution. For optimal results, overlap each cleaning pass slightly. Listen for a change in the suction sound – a decrease indicates the dirty water tank may need emptying.

Ensure the brush roll is actively spinning during operation for effective agitation and stain removal. Practice coordinating the trigger and movement for a thorough and efficient cleaning experience.
Cleaning Different Carpet Types
The Hoover PowerDash Pet adapts to various carpet fibers, but adjustments are key for optimal results. For low-pile carpets, use a lower cleaning mode and moderate pressure. Avoid excessive saturation, as these carpets dry quickly. High-pile carpets require a higher cleaning mode and slower passes to allow the solution to penetrate deeply.
Delicate carpets, like wool or shag, demand extra caution. Utilize the gentlest cleaning setting and test a small, inconspicuous area first. Area rugs may require more focused attention due to concentrated soil. Always check the rug’s care label before cleaning.
For heavily soiled carpets, pre-treating stubborn stains is recommended. Remember to rinse thoroughly to remove any cleaning solution residue, preserving your carpet’s integrity and appearance.
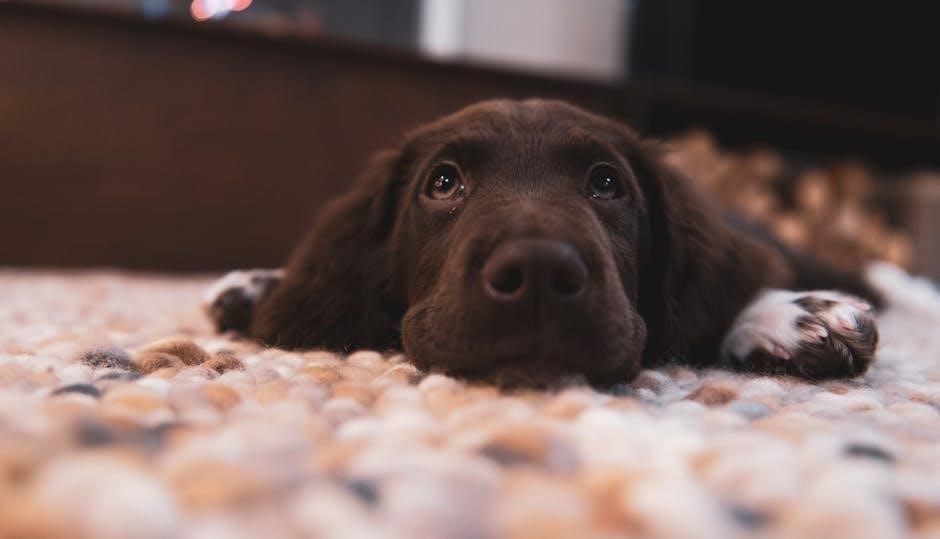
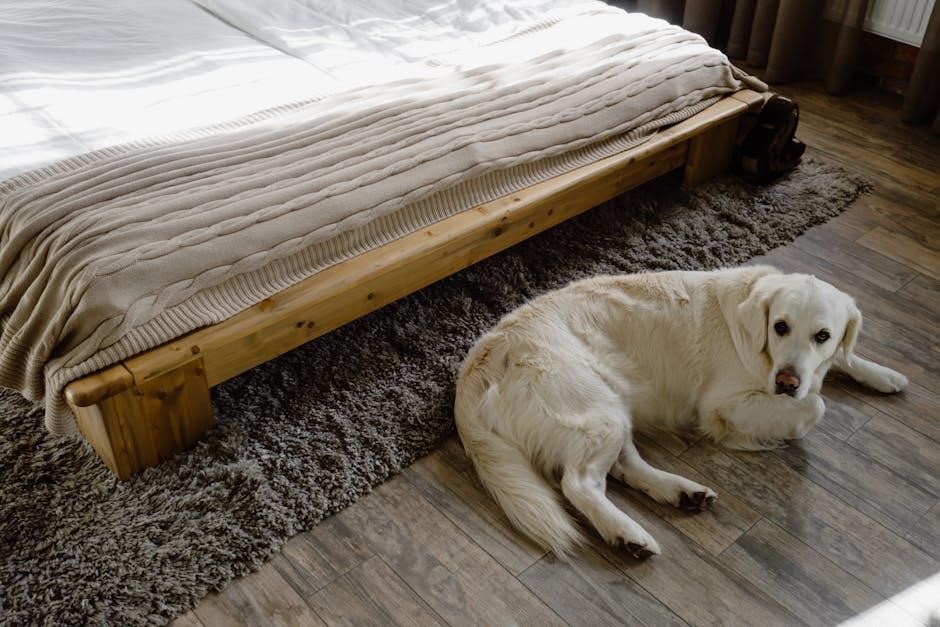
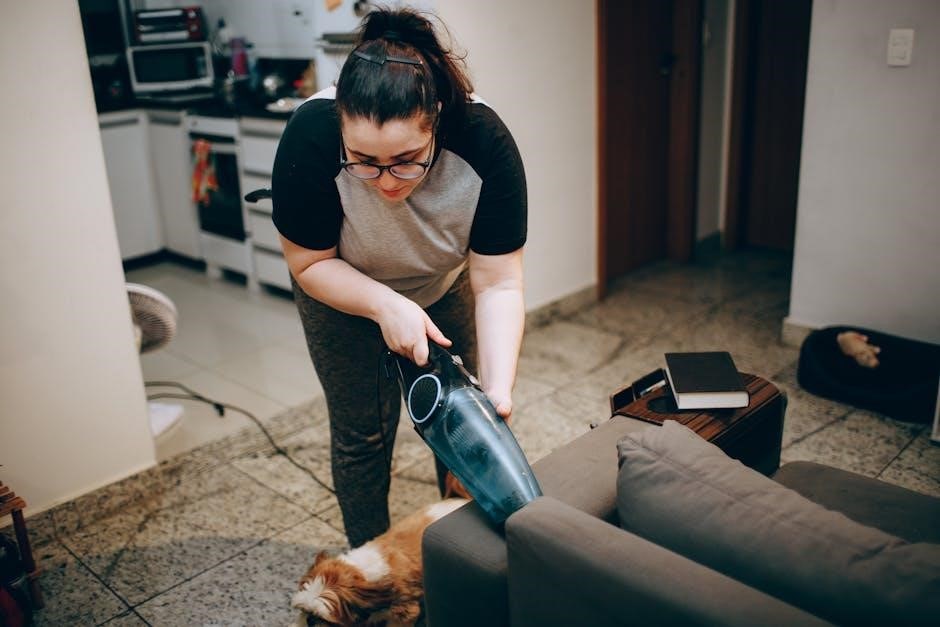
Dealing with Pet Messes Specifically
The Hoover PowerDash Pet excels at tackling pet-related accidents, but specific approaches maximize effectiveness. For fresh messes, blot up excess liquid immediately with a clean cloth before cleaning. Utilize the specialized pet cleaning solution for optimal odor elimination and stain removal.
For dried-in messes, pre-treating is crucial. Apply the pet solution liberally and allow it to dwell for several minutes to break down the stain. Employ the brush roll to agitate the area, loosening embedded debris. Select a cleaning mode appropriate for your carpet type.
Pay close attention to areas where pets frequently spend time. Regular cleaning prevents odor buildup and maintains a hygienic environment. Rinse thoroughly to remove all traces of cleaning solution, ensuring pet safety.
Maintenance and Cleaning After Use
Proper maintenance ensures the longevity and performance of your Hoover PowerDash Pet. After each use, empty the dirty water tank immediately to prevent mold and odor buildup. Rinse the tank thoroughly with clean water and allow it to air dry completely before reattaching.
Regularly clean the brush roll to remove hair, fibers, and debris. Detach the brush roll and use scissors or a seam ripper to carefully cut away any tangled materials. Inspect the spray nozzle for clogs and clear any obstructions with a small pin or needle.
Periodically wipe down the exterior of the unit with a damp cloth. Avoid using harsh chemicals or abrasive cleaners. Store the PowerDash Pet in a dry, well-ventilated area to prevent damage.
Emptying and Rinsing the Dirty Water Tank
The dirty water tank requires immediate attention after each cleaning session to maintain hygiene and prevent unpleasant odors. Carefully detach the tank from the PowerDash Pet, ensuring any remaining solution doesn’t spill. Carry the tank directly to a suitable drain or disposal area.
Empty the contents completely, then rinse the tank thoroughly with warm, clean water. Rotate and swirl the water inside to dislodge any lingering dirt or cleaning solution residue. Inspect the tank for any stubborn debris and remove it manually.
Repeat the rinsing process until the water runs clear. Allow the tank to air dry completely before reattaching it to the unit. This prevents mold and mildew growth, ensuring optimal performance and extending the life of your Hoover PowerDash Pet.
Cleaning the Brush Roll
Regular brush roll cleaning is crucial for maintaining the PowerDash Pet’s cleaning effectiveness. Begin by disconnecting the power and removing the brush roll access door. Gently pull the brush roll free from the unit – it may require a slight wiggle.
Inspect the brush roll thoroughly for tangled hair, fibers, and debris. Use scissors or a seam ripper to carefully remove these obstructions, avoiding damage to the bristles. A damp cloth can wipe away any remaining residue.
Check for any signs of wear or damage to the bristles. If bristles are bent or broken, consider replacing the brush roll for optimal performance. Ensure the brush roll is completely dry before reinstalling it, securing the access door properly.
Troubleshooting Common Issues
If your PowerDash Pet loses suction, first check the dirty water tank – it may be full. Also, inspect the brush roll for obstructions like hair or fibers. A clogged spray nozzle can also reduce cleaning power; clear it with a pin or similar object.
For issues with the machine not turning on, ensure the unit is properly plugged into a working outlet. Check the power cord for damage. If the problem persists, consult the warranty information.
If the carpet remains excessively wet, reduce the amount of cleaning solution used or increase the number of suction passes. Persistent odors may indicate a need to thoroughly clean the tanks and brush roll. Online resources, like YouTube tutorials, can offer visual guidance for resolving these common problems.
Storage Instructions
Proper storage is crucial for maintaining your Hoover PowerDash Pet’s performance and longevity. Before storing, always ensure both the clean and dirty water tanks are completely empty and thoroughly rinsed. Allow all components – the unit itself, hose, and attachments – to air dry completely to prevent mold or mildew growth.
Store the PowerDash Pet in a cool, dry place, away from direct sunlight and extreme temperatures. Avoid storing it in damp environments like basements or garages without proper ventilation.
Coil the hose neatly and secure it with a twist tie or Velcro strap to prevent kinks. Consider storing the unit with the hose and attachments inside the dirty water tank to keep everything together. Regularly check the stored unit for any signs of damage or deterioration.
Warranty Information
Your Hoover PowerDash Pet Compact Carpet Cleaner is covered by a manufacturer’s warranty, protecting against defects in materials and workmanship. The standard warranty period is typically one year from the date of original purchase, but may vary depending on the retailer and region.
The warranty covers functional parts and labor for repairs or replacement, should a defect arise during normal household use. It does not cover damage resulting from misuse, abuse, neglect, unauthorized repairs, or normal wear and tear.
To make a warranty claim, retain your original purchase receipt as proof of date and location of purchase. Contact Hoover customer support directly through their website or phone number for assistance with initiating a claim and obtaining a return authorization. Detailed warranty terms and conditions can be found in the documentation included with your product.
Where to Find Additional Support and Resources
For comprehensive support beyond this manual, numerous resources are readily available. Hoover’s official website provides a dedicated support section with FAQs, troubleshooting guides, and downloadable manuals for your PowerDash Pet model. YouTube hosts a wealth of user-generated content, including how-to videos and demonstrations – search “Hoover PowerDash Pet” for helpful tutorials.
Online forums and communities dedicated to cleaning and home appliances can offer peer-to-peer support and advice. Retailer websites, such as those where you purchased the cleaner, often have customer service portals and support articles.
Hoover’s customer support team is accessible via phone and email, offering direct assistance with any questions or concerns. Don’t hesitate to leverage these resources to maximize your cleaning experience and maintain your PowerDash Pet in optimal condition;