
Singer Featherweight Manual: A Comprehensive Guide
Welcome! This detailed manual assists users in maximizing their Singer Featherweight’s potential, offering insights into operation, maintenance, and advanced sewing capabilities․
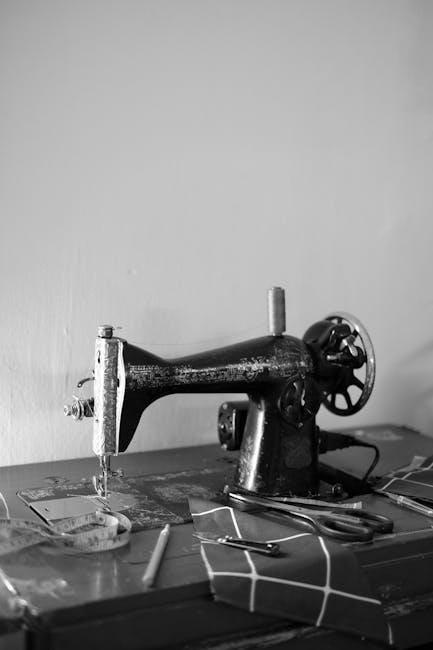
The Singer Featherweight, a beloved sewing machine, represents a legacy of quality and portability․ Originally introduced in 1933, it quickly gained popularity among home sewers and traveling professionals alike․ Its lightweight design – hence the name “Featherweight” – belies its robust construction and powerful motor․
This machine isn’t just a tool; it’s a piece of history․ Many sewers cherish their Featherweights, often inheriting them through generations․ Despite its age, a well-maintained Featherweight can still deliver exceptional sewing performance today․ This guide aims to provide both novice and experienced users with the knowledge to operate, care for, and even restore these iconic machines․ Prepare to delve into the world of this remarkable sewing companion!
Historical Significance of the Featherweight
The Singer Featherweight’s story began during the Great Depression, a time when affordability and practicality were paramount․ Singer ingeniously designed a machine that was both compact and durable, making it accessible to a wider range of consumers․ Its portability proved invaluable, especially during World War II, where it was used by the Red Cross to create clothing for soldiers and refugees․
Beyond its wartime service, the Featherweight became a staple in countless households, empowering generations of seamstresses and quilters․ Its simple yet effective design fostered a loyal following, and its reputation for reliability endured․ Today, vintage Featherweights are highly sought after by collectors and sewing enthusiasts, representing a tangible link to a bygone era of craftsmanship and resourcefulness․
Models Covered in this Guide (221, 222K, etc․)
This comprehensive guide primarily focuses on the iconic Singer Featherweight 221 and its close variants․ We will delve into the specifics of the 221, the most commonly found model, offering detailed instructions applicable to most machines within this series․ Additionally, we’ll address the nuances of the 222K, a Featherweight produced for the European market, highlighting its key differences and adjustments․
While the core mechanics remain consistent, slight variations exist across different production years and regional models․ This manual will also touch upon the 221SL, a later iteration with minor enhancements․ We aim to provide a resource that empowers users to confidently navigate the specifics of their Featherweight, regardless of its precise model number, ensuring a smooth and enjoyable sewing experience․
Dating Your Singer Featherweight
Determining the manufacturing date of your Singer Featherweight can provide valuable insight into its history and potential variations․ The serial number, prominently displayed on the machine’s body, is the key to unlocking this information․ Serial numbers generally correlate with production years, though there can be overlaps․
Resources like online serial number databases and dedicated Singer Featherweight communities can assist in deciphering the date code․ Early models (1933-1953) often feature a serial number directly indicating the year․ Later models utilize a more complex system requiring cross-referencing with established charts․ Knowing the production year can help identify specific features or potential wear patterns common to that era, aiding in maintenance and restoration efforts․
Understanding the Machine’s Components
Explore the inner workings! This section details each part – from the handwheel to tension discs – crucial for operating and maintaining your Featherweight sewing machine․
The Handwheel and its Function
The handwheel is your primary control for the Singer Featherweight, enabling precise stitch placement and manual operation․ Rotating it clockwise lowers the needle, creating a stitch, while counter-clockwise raises it․ It’s essential for starting and stopping, carefully maneuvering fabric, and achieving accurate seams․
Always turn the handwheel towards you to avoid accidental needle injuries․ The handwheel’s momentum also allows for controlled sewing speed; a faster turn equates to quicker stitching․ Never force the wheel if resistance is felt – investigate the cause before proceeding, as this could indicate a problem with the machine’s internal mechanisms․ Understanding the handwheel’s function is fundamental to mastering your Featherweight․
Regularly check for smooth rotation; any stiffness should be addressed promptly․
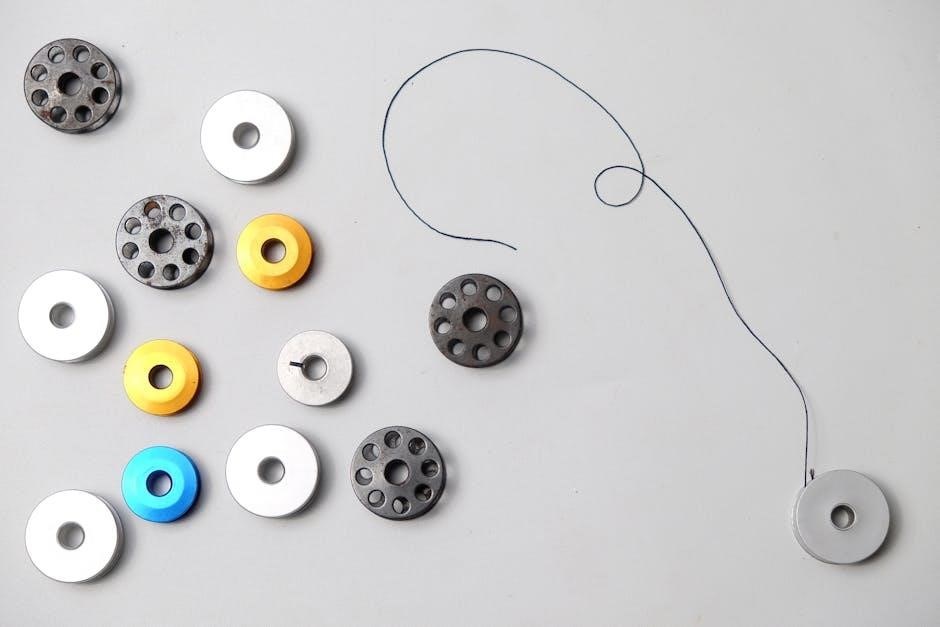
The Bobbin Winder Mechanism
The Singer Featherweight’s bobbin winder is ingeniously designed for efficient and consistent bobbin filling․ It operates by transferring power from the handwheel to a rubber tire, which then spins the bobbin spool․ Engaging the winder requires moving the spool pin lever to the right and gently guiding the thread onto the bobbin a few times to secure it․
Maintaining proper tension is crucial for even winding; adjust the tension disc if the thread winds unevenly or slips․ Disengage the winder once the bobbin is full to prevent thread breakage and potential damage․ Regularly inspect the rubber tire for wear and tear, as this impacts winding performance․
A smoothly functioning bobbin winder ensures consistent stitch quality․
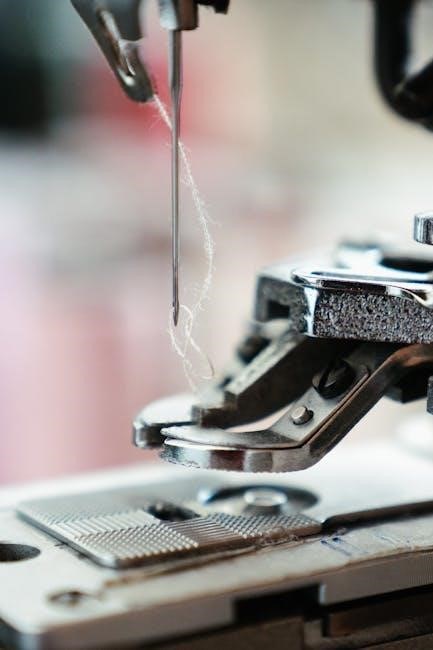
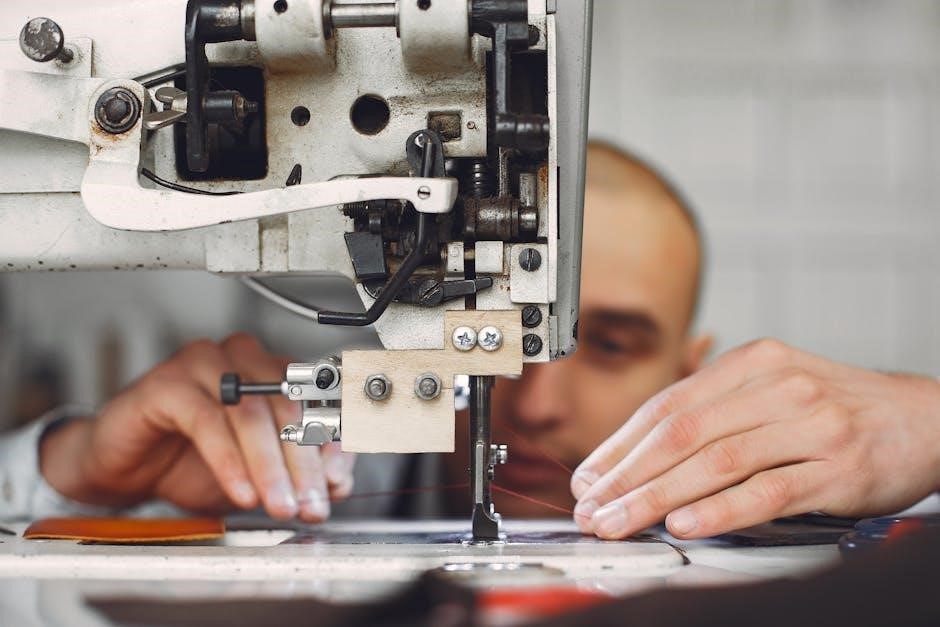
Needle and Presser Foot System
The Singer Featherweight’s needle and presser foot system works in harmony to precisely feed fabric during sewing․ The machine utilizes a vibrating shuttle system, requiring specific needle types – typically 15×1 needles – to ensure proper loop formation․ Correct needle size is vital, matching the fabric weight for optimal stitch quality․
The presser foot applies consistent pressure, guiding the fabric smoothly under the needle․ Different presser feet are available for specialized tasks like zipper insertion or buttonholes․ Adjusting the presser foot pressure, though limited on Featherweights, can impact stitch consistency on delicate or bulky materials․
Regularly inspect the needle for damage and replace it as needed for reliable performance․
Tension Discs and Threading Path
Maintaining proper thread tension is crucial for achieving balanced stitches on your Singer Featherweight․ The tension discs control the force applied to the upper thread, working in conjunction with the bobbin tension․ An incorrect tension setting results in looping, puckering, or thread breakage․
The threading path is specifically designed to ensure consistent thread delivery to the needle․ Following the correct sequence – from spool pin, through tension discs, take-up lever, and finally the needle eye – is paramount․ Any deviation can disrupt tension and cause sewing issues․
Regularly clean the tension discs to remove lint and debris, ensuring smooth thread flow and optimal performance․ Adjust the tension dial incrementally when needed;
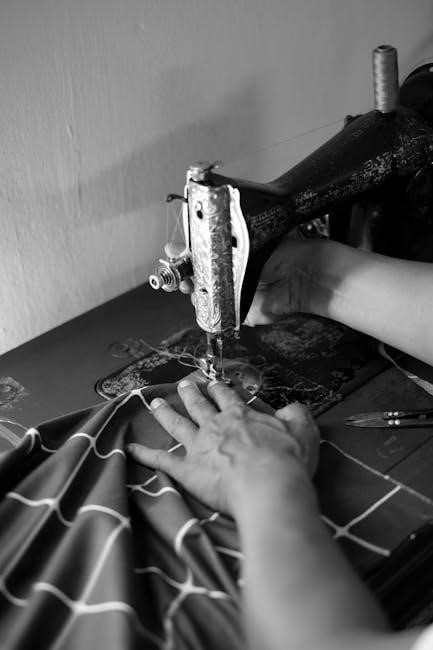
Threading the Singer Featherweight
Mastering the threading process unlocks the full potential of your machine, ensuring smooth operation and beautiful stitches with each project you undertake․
Step-by-Step Threading Instructions
Begin by ensuring the machine is unplugged and the handwheel is raised to its highest position․ Place the spool of thread onto the spool pin, securing it with a spool cap․ Guide the thread through the first thread guide, located near the spool pin, and then down towards the tension discs․
Crucially, ensure the thread is properly seated between the tension discs – this is vital for consistent stitch quality․ Next, lead the thread through the take-up lever, ensuring it catches the lever as you move it up and down․ Continue threading through the remaining thread guides, following the path indicated on the machine․
Finally, thread the needle from front to back․ To wind the bobbin, follow the separate bobbin winding instructions, ensuring the bobbin is correctly inserted into the bobbin case before resuming upper threading․ Proper threading is paramount for optimal performance․
Bobbin Winding Procedure
Start by placing the bobbin onto the bobbin winder spindle, ensuring it clicks into place․ Position the spool of thread on the spool pin, and guide the thread from the spool, around the tension disc, and then through the small hole in the bobbin winder spindle․
Next, push the bobbin winder spindle to the right, engaging it with the drive wheel․ Gently depress the foot pedal to begin winding․ The machine will automatically stop when the bobbin is full․
Carefully remove the bobbin, cut the thread, and insert it into the bobbin case, ensuring it unwinds in the correct direction․ Proper bobbin winding is essential for even stitch formation and preventing thread nests․ Always use quality thread for best results and consistent tension․
Troubleshooting Threading Issues
If encountering threading problems, first retrace your steps, ensuring the thread is correctly seated in each guide and tension disc․ A common issue is thread not fully entering the take-up lever; verify it’s properly engaged․ Check for lint or debris obstructing the thread path – a thorough cleaning often resolves this․
Persistent issues may indicate incorrect bobbin winding or improper bobbin insertion․ Ensure the bobbin is wound evenly and inserted with the thread unwinding in the correct direction․ Also, confirm the presser foot is up during threading, as this releases tension․
Finally, use the correct type of thread for your fabric and needle size․ A mismatched combination can cause frequent breaks and threading difficulties․
Basic Sewing Operations
Mastering fundamental techniques unlocks the Featherweight’s potential; learn straight stitching, reverse, and stitch length adjustments for versatile sewing projects and consistent results․
Straight Stitching Techniques
Achieving a consistently straight stitch is foundational to successful sewing with your Singer Featherweight․ Begin by ensuring your machine is properly threaded and the bobbin is correctly inserted․ Select a stitch length appropriate for your fabric – a medium length (around 2․5mm) is a good starting point for general sewing․
Gently guide the fabric under the presser foot, maintaining a consistent speed․ Avoid pulling or pushing the fabric; let the machine feed it through․ Use the edge of the presser foot as a guide, keeping the fabric aligned with markings on the needle plate․
Practice maintaining a seam allowance – the distance between the edge of the fabric and the stitch line – using the markings on the needle plate as a guide․ For accurate corners, stop with the needle down, lift the presser foot, pivot the fabric, and continue sewing․ Consistent practice will refine your technique and yield beautifully straight seams․
Reverse Stitching Explained
Reverse stitching, often used to secure the beginning and end of a seam, is easily accomplished on your Singer Featherweight․ Locate the reverse lever – typically positioned on the front or side of the machine․ Engaging this lever alters the machine’s mechanism, causing the feed dogs to move in the opposite direction․
To reverse stitch, gently push the lever forward or down (depending on your model) before reaching the point where you want to backstitch․ Sew a few stitches in reverse, then release the lever to return to forward stitching․ Ensure a smooth transition by overlapping the forward and reverse stitches slightly․
Avoid prolonged reverse stitching, as it can strain the machine․ Use it solely for securing seams․ Practice on scrap fabric to become comfortable with the lever’s operation and achieve neat, reinforced stitch beginnings and endings․
Adjusting Stitch Length
Stitch length control on the Singer Featherweight is remarkably simple, yet crucial for various fabric types and sewing applications․ Typically, a stitch length dial or lever is located on the machine’s bed․ Rotating or moving this control alters the distance between each stitch․
Shorter stitch lengths (around 1․5-2mm) are ideal for delicate fabrics or when increased seam strength is needed․ Longer stitch lengths (around 3-4mm) are suitable for basting, gathering, or working with heavier materials․ Experiment with different settings on scrap fabric to determine the optimal stitch length for your project․
Remember that consistent stitch length contributes to a professional finish․ Always test your chosen setting before sewing your final garment․ A properly adjusted stitch length ensures both durability and aesthetic appeal․
Maintenance and Troubleshooting
Regular upkeep ensures longevity! This section details cleaning, oiling procedures, and solutions for common issues like skipped stitches or thread breakage․
Regular Cleaning and Oiling
Maintaining your Singer Featherweight requires consistent cleaning and lubrication for optimal performance and a prolonged lifespan․ Dust, lint, and old oil accumulate during use, hindering smooth operation․ Begin by disconnecting the power source (if applicable) and using a soft brush to remove visible debris from all areas, including the bobbin case, feed dogs, and around the needle plate․
For deeper cleaning, a lint brush or compressed air can be utilized cautiously․ Apply a few drops of Singer Featherweight oil to all moving parts – the handwheel, bobbin winder, needle bar, and tension discs – following the manufacturer’s recommendations․ Avoid over-oiling, as excess oil attracts dust․ Wipe away any excess oil with a clean cloth․ Regular cleaning, ideally after each use, and oiling every few months, will keep your Featherweight sewing beautifully for years to come․
Common Problems and Solutions (Skipped Stitches, Thread Breakage)
Encountering issues? Skipped stitches often indicate a bent or dull needle, incorrect threading, or improper tension․ Replace the needle, re-thread the machine carefully, and adjust the tension dial․ Thread breakage frequently stems from incorrect threading, using the wrong type of thread for the fabric, or a tightly wound bobbin․ Ensure correct threading, select appropriate thread, and rewind the bobbin with even tension․
If problems persist, check the timing belt for wear or looseness․ A damaged belt can cause erratic stitching․ Also, inspect the feed dogs for debris or damage․ Regularly cleaning and maintaining your Singer Featherweight, alongside careful troubleshooting, will resolve most common sewing challenges, ensuring smooth and enjoyable operation․
Belt Replacement Guide
Replacing the belt requires careful attention․ First, disconnect the power and remove the handwheel and faceplate․ Gently ease the old belt off the motor pulley and the handwheel pulley․ Note the belt’s routing for correct reinstallation․ Carefully position the new belt onto the motor pulley, then stretch it over the handwheel pulley – this may require some effort․
Ensure the belt sits securely in the grooves of both pulleys․ Reattach the faceplate and handwheel, tightening securely․ Before resuming sewing, manually turn the handwheel to verify the belt runs smoothly and the machine operates correctly․ A properly installed belt ensures consistent power transfer and prevents slippage, restoring your Featherweight’s functionality․
Identifying and Replacing Worn Parts
Regular inspection is crucial for identifying worn components․ Look for cracks in the handwheel, looseness in the needle clamp, or wear on the bobbin case․ A sluggish or noisy machine often indicates internal wear․ Replacement parts are readily available from Singer retailers and online suppliers; ensure compatibility with your specific model (221, 222K, etc․)․
Disassembly requires patience and a service manual․ Carefully document the removal process to aid reassembly․ When replacing parts, use appropriate tools to avoid damage․ A well-maintained Featherweight, with replaced worn components, will provide years of reliable service, preserving its legacy and sewing performance․
Advanced Techniques & Accessories
Explore creativity! Discover specialized needles, attachments like hemmer and ruffler feet, and unlock free-motion quilting potential with your Singer Featherweight․
Using Different Types of Needles
Needle selection is crucial for optimal sewing results with your Singer Featherweight․ Different fabrics demand specific needle types to prevent damage and ensure smooth stitching․ Universal needles are versatile for woven fabrics, while ballpoint needles are ideal for knits, preventing skipped stitches and fabric runs․
Denim needles, with their robust construction, effortlessly penetrate heavy-weight materials like denim and canvas․ Sharp needles excel with delicate fabrics like silk and microfiber, minimizing snags and puckering․ Consider needle size; a smaller number indicates a finer needle, suitable for lightweight fabrics, and larger numbers for heavier materials․
Always replace needles frequently, as dull needles can cause thread breakage and fabric damage․ Regularly inspect your needle for bends or burrs․ Proper needle choice significantly enhances your sewing experience and the longevity of your projects․
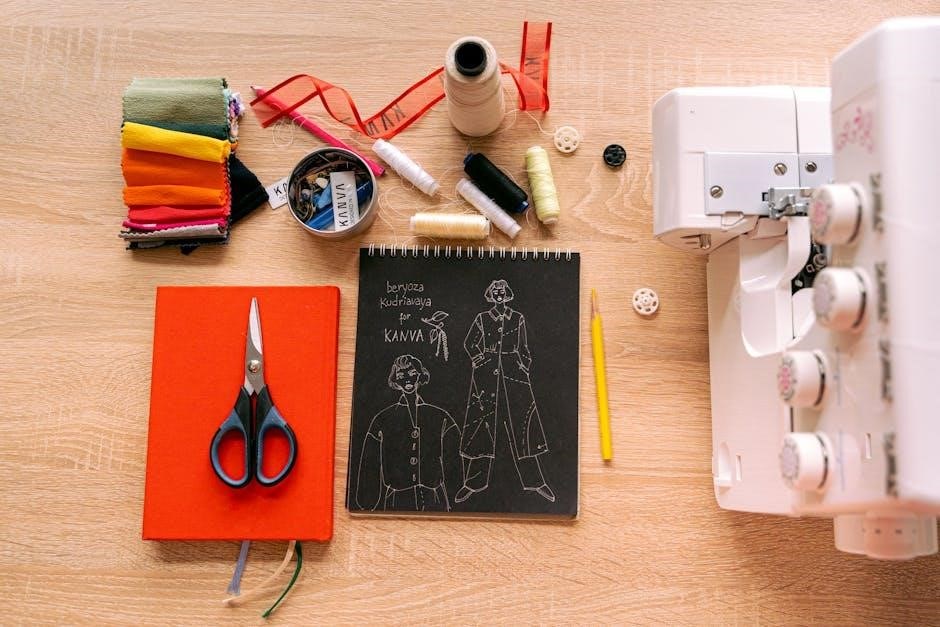
Featherweight Attachments (Hemmer, Ruffler, etc․)

Expand your Featherweight’s capabilities with a range of specialized attachments! The hemmer foot creates professional-looking rolled hems quickly and efficiently, perfect for delicate fabrics․ A ruffler attachment adds decorative ruffles to garments and home décor projects, offering adjustable ruffle depth and spacing․
Gathering feet simplify the process of creating gathers, ideal for skirts and sleeves․ Edge stitching feet ensure precise and consistent edge stitching, enhancing the appearance of your seams․ Lightbulb-shaped attachments facilitate decorative stitching and embroidery․
These attachments unlock a world of creative possibilities, transforming your Featherweight into a versatile sewing machine․ Explore vintage and modern options to discover the perfect tools for your sewing endeavors, enhancing both speed and precision․
Free Motion Quilting with a Featherweight
Unlock artistic expression through free motion quilting on your Singer Featherweight! This technique allows for intricate designs and personalized quilting patterns․ Begin by dropping the feed dogs, enabling you to move the fabric freely under the needle․ A darning foot is essential, providing a smooth gliding surface․
Adjust the stitch length to zero for a true free motion effect․ Practice consistent movement and pressure to create even stitches․ Experiment with different thread weights and colors to achieve unique textures and visual effects․
The Featherweight’s lightweight design and smooth operation make it surprisingly adept at free motion quilting, offering control and precision for both beginners and experienced quilters․ Embrace creativity and transform quilts into stunning works of art!